How to use branding in DashboardFox
Version: DashboardFox v12
Role: Admin
Permission: Admin access
Role: Admin
Permission: Admin access
Overview
In DashboardFox, you can create as many branding as you can and assign the owner and user of the brand you are creating. This is helpful when you want the DashboardFox interface to have the branding of the user or group assigned.
For a detailed description of the branding options, please see the Branding Guide.
1. Access the Branding Module:
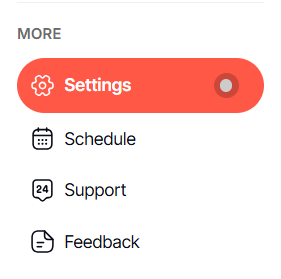
Click Settings in the left sidebar.
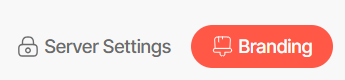
Select Branding.
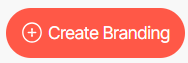
Click Create Branding.
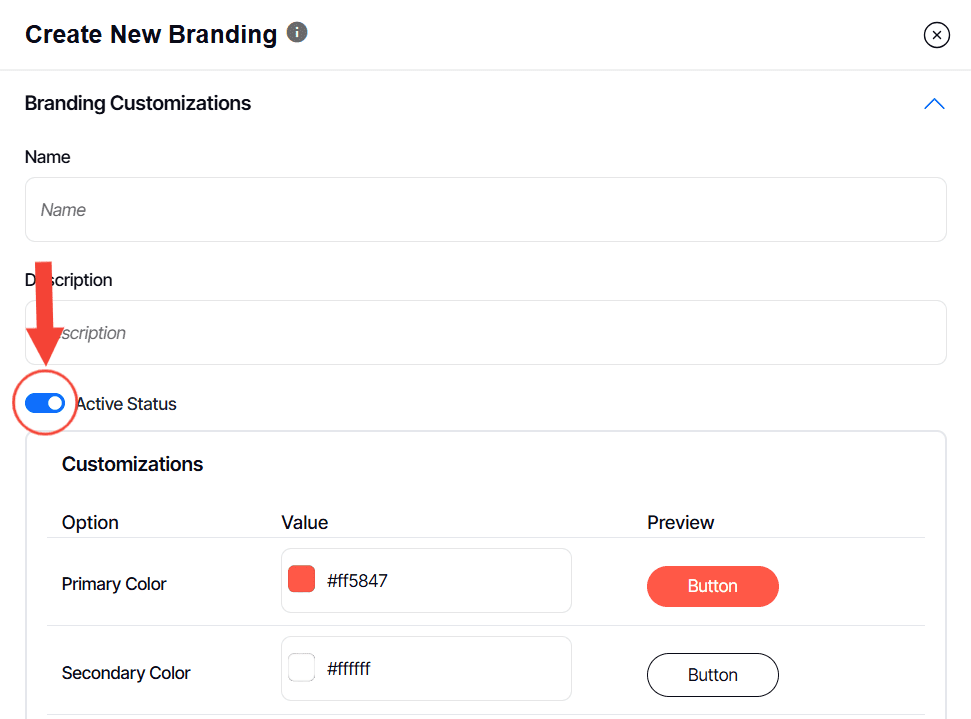
2. Configure Branding Customizations:
Enter the name and description for your branding.
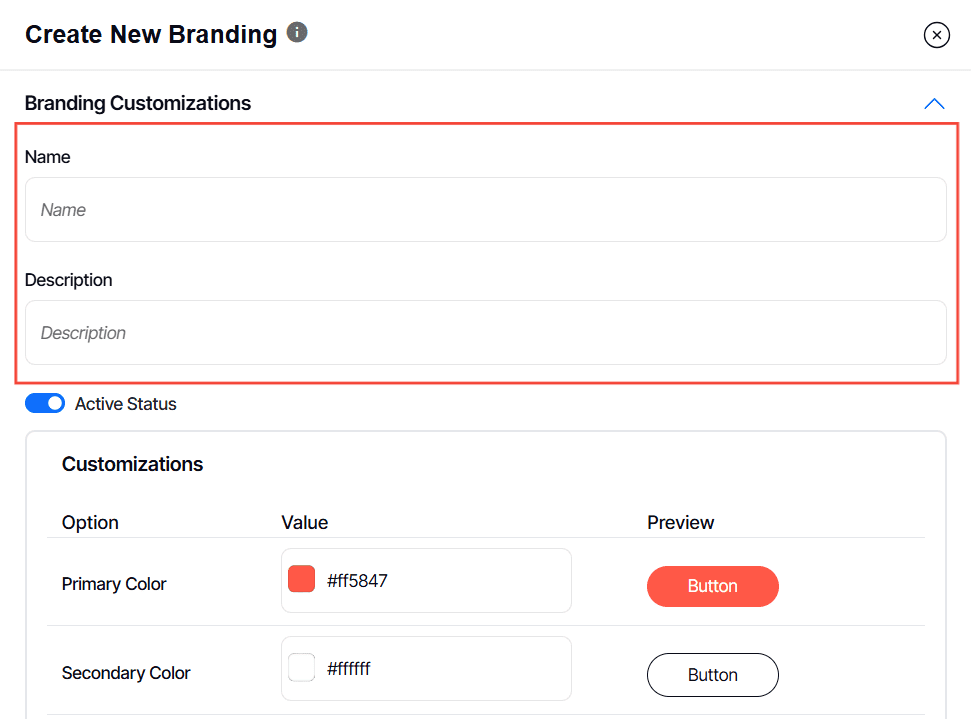
Toggle on Active Status if the branding configuration is active.
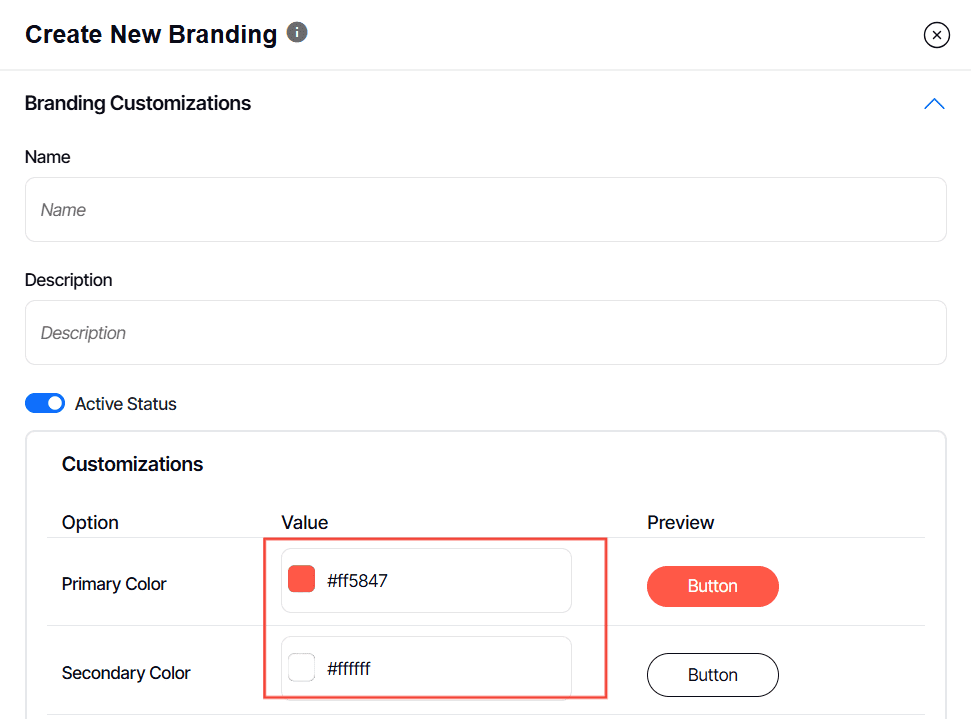
Pick Primary and Secondary Colors: Input the hex code in the provided value box.
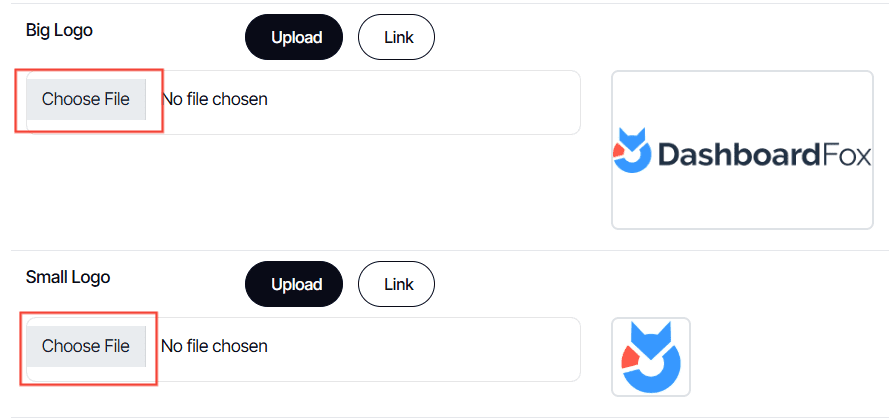
Upload Logos: For big and small logos, click Choose File to upload,
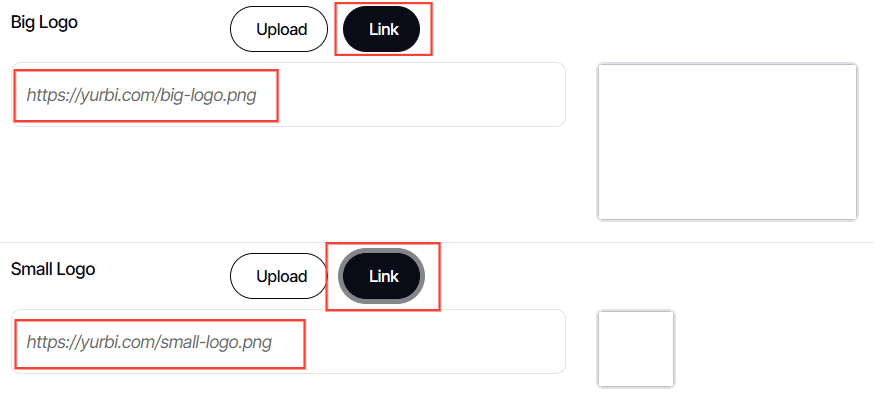
Or click Link to enter a URL.
3. Assign the Branding:
By Group: Tick the checkbox next to the desired groups under Assigned Groups. You can select more than one.

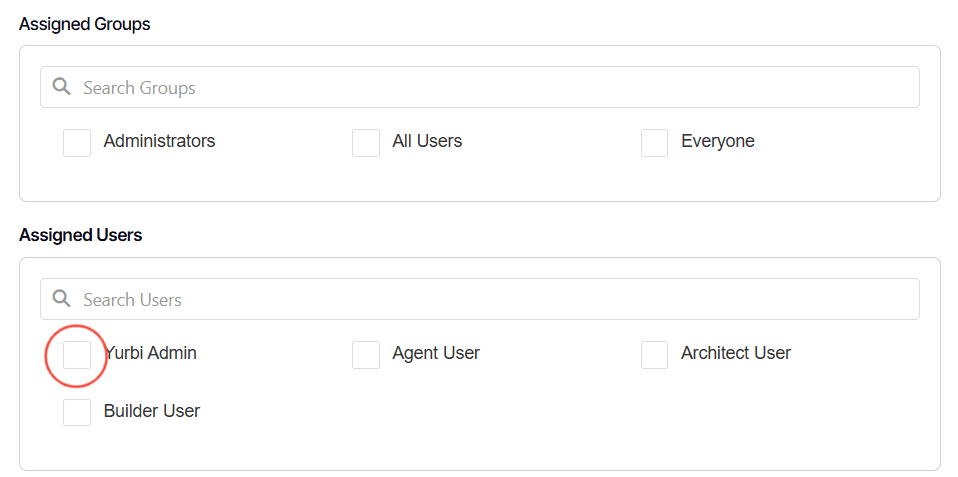
By User: Tick the checkbox next to the desired users under Assigned Users. You can select more than one.
4. Finalize Setup:
Click Save & Apply to confirm your changes.
