How to create a dashboard date type filter
Version: DashboardFox v12
Role: Agent and higher
Permission: Agent with view permission to the dashboard
Overview
In this guide, we'll focus on crafting date-based filters. These filters are often used to segment data based on date values such as months, weeks, years, etc.
Note: All images shown are just an example. Names, fields, and values will be dependent on the organization and the user logged in.
Creating a Filter
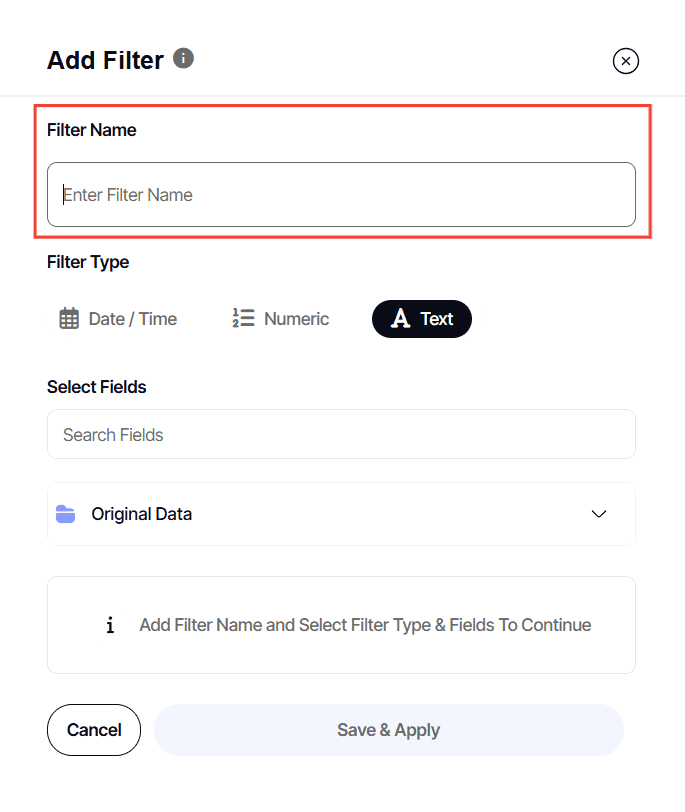
1. Click on Add Filter, located in the filter bar region of your dashboard.
2. Type in your desired Filter Name.
3. Select Date for your Filter Type.
4. Under Select Fields, tick off the field you want to filter. A single filter can only apply to 1 field per report.
Each box represents a report on the dashboard. As an agent with view permission, you cannot control what fields are shown.
TIP: Ideally, you'll want to tick the same box for every field. But no worries if a checkbox field doesn't appear! Your dashboard data will remain consistent and accurate.
5. You can also use the search box so locate the field.
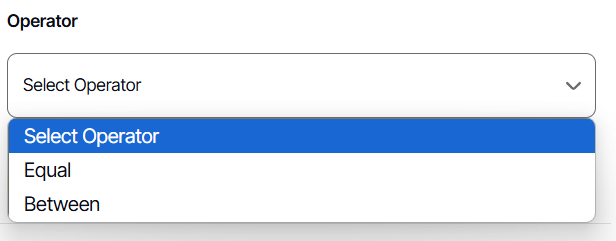
6. For a Date Filter Type, in the Operator section, you can choose either EQUAL or BETWEEN. Here are how these options function:
DATE FILTER: EQUAL
EQUAL: This option provides a single-select or dropdown list filter.
1. Under Equal to, set a default value or leave it blank by selecting Custom Values.
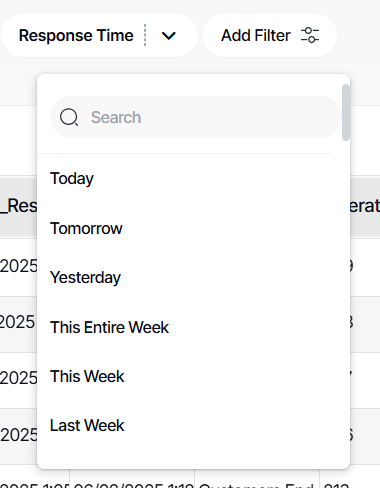
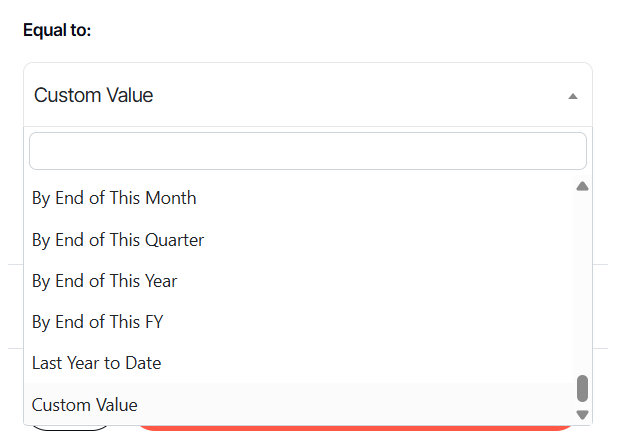 When setting a default value, pre-programmed time slices will be your options
While choosing Custom Values will give you a blank field
2. Check Enable Get Values List.
3. Click Save & Apply
4. If you have selected a value, in the dashboard it will look like this:
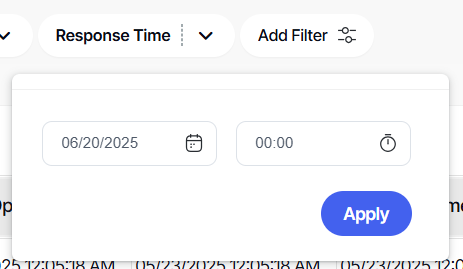
5. If you have selected Custom Values, it will give you a single date and time picker which can be operated in the dashboard.
6. You can also locate the Custom Value by scrolling down the values within the filter.
DATE FILTER: BETWEEN
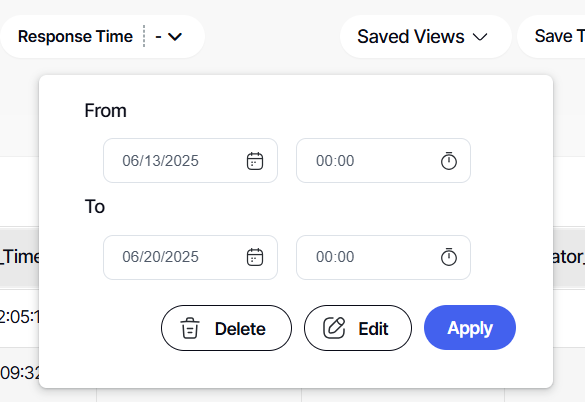
BETWEEN: This option lets you set a range between your chosen dates.
1. Under Between, leave it blank.
2. Lastly, Click Save & Apply
3. In the dashboard, it will look like this:
Remember to save each time you make changes, either to overwrite or save as a new one.
And there you have it! You can now create one or more date-based filters as you like!


