How to organize your report tree
Version: DashboardFox v12
Role: App Builder
Permission: App Builder access to the application
Access the App Builder Section
This section shows the step on how you can access the app builder section
1. Once logged in, Click on App Builder found on the sidebar.

Application and Report Type
This section shows the steps on how you can access the application and report type you want to edit
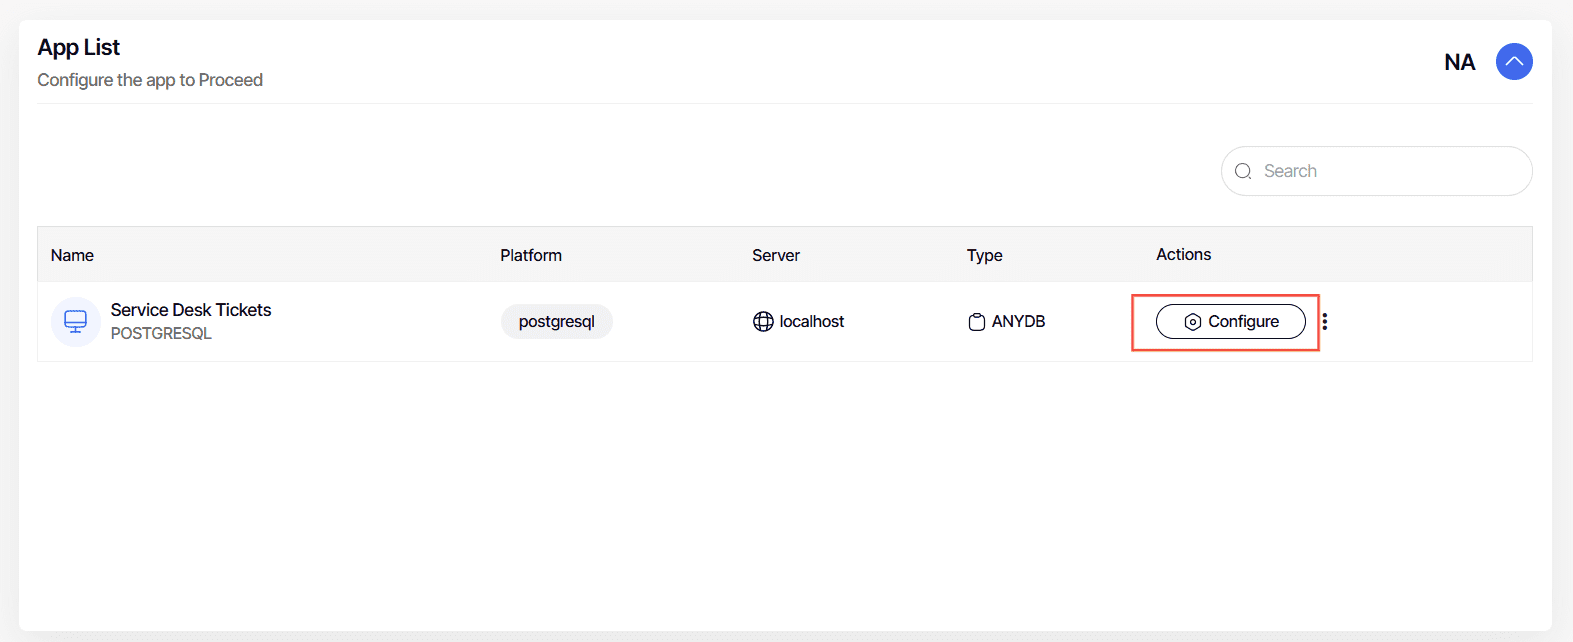
1. Select the app to edit in App List and click Configure.
Note: For this guide, we have created a sample. Applications will vary depending on your organization's admin.
2. In the Report Type section, select the report type where the desired report tree you want to edit is housed in and click Configure
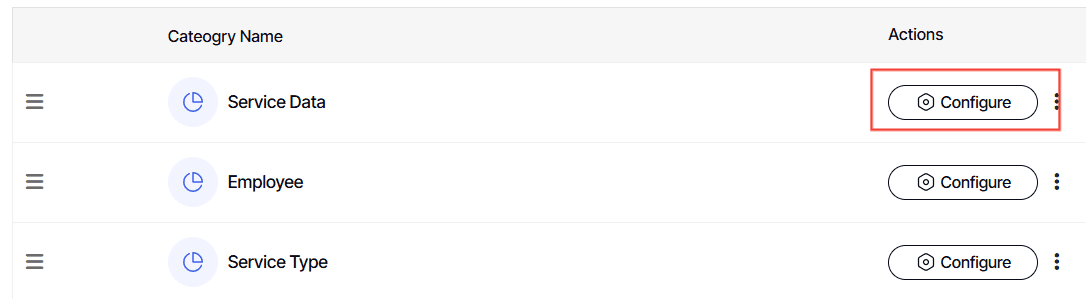
3. Click Configure Report Tree

Editing the Report Tree
This section shows the steps on how to edit and delete a folder and a report field, and how to organize the order of your report fields.
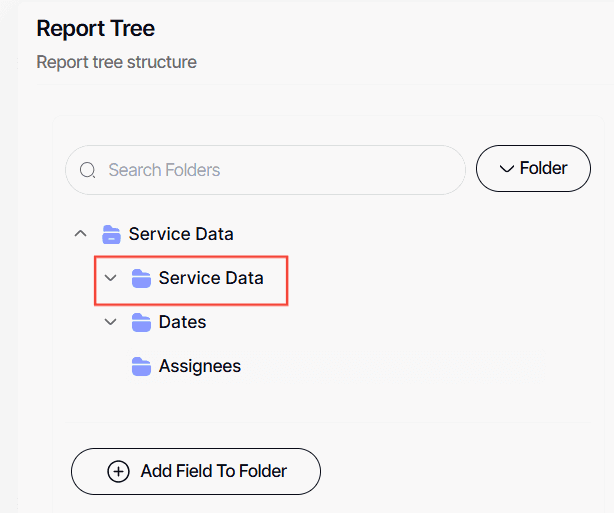
Editing Folder under Root Folder
1. To edit the name housed under the root folder, click on the folder

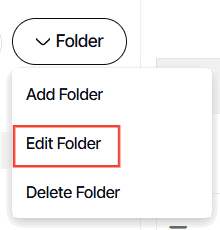
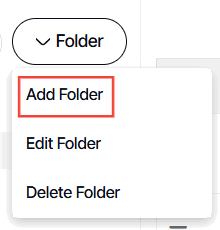
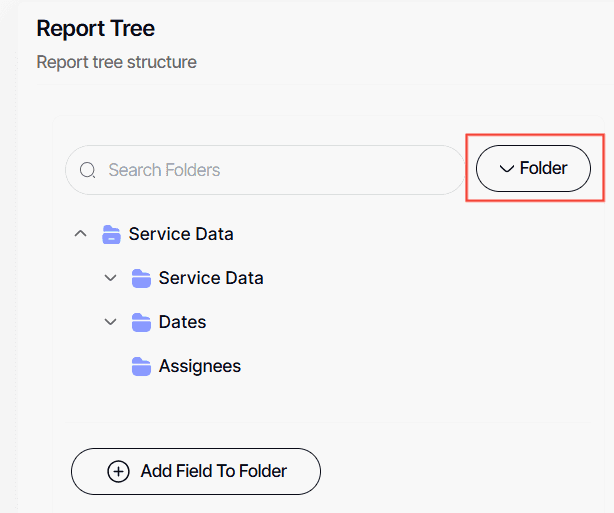
2. Click Folder

3. Then, click Edit button
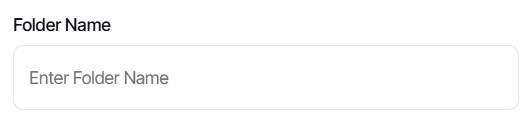
4. Type in the new folder name
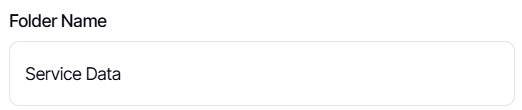
5. Click Save

Adding Folders
1. Click the desired folder to add another folder in
2. Click Folder

3. Click Add Folder
4. Type in Folder Name
5. Click Save

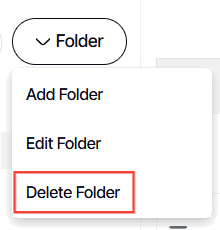
Deleting Folders
1. To delete a folder housed under the root folder, select the folder

2. Click Folder
3. Click Delete Folder button
4. Type DELETE
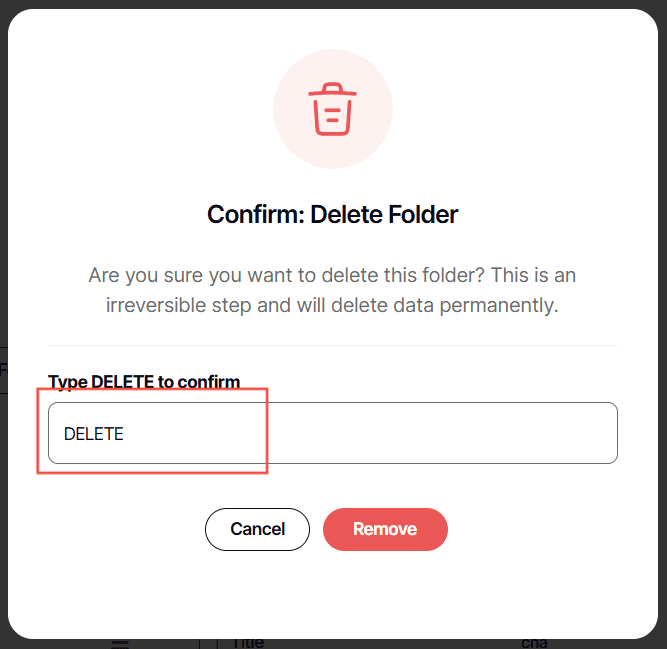
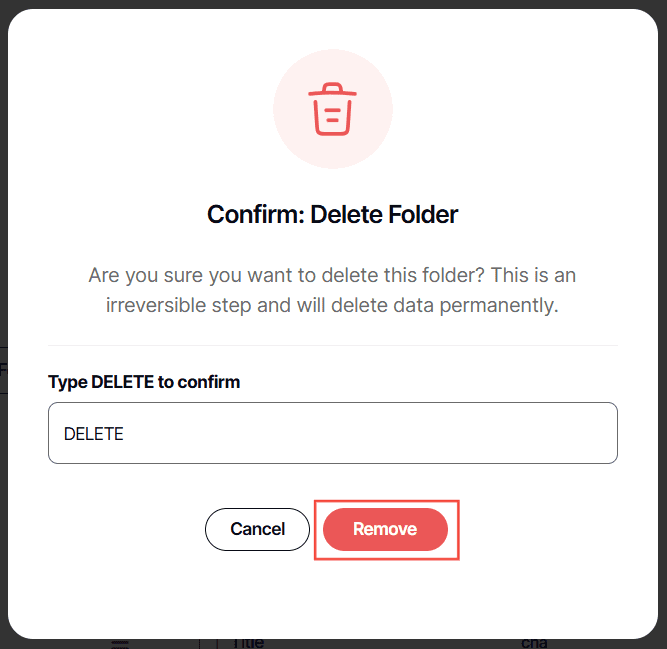
5. Click Remove
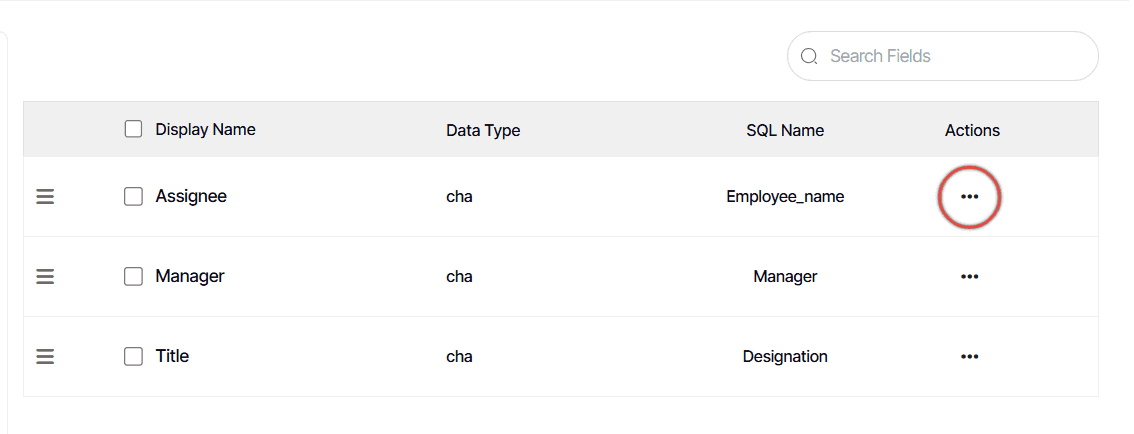
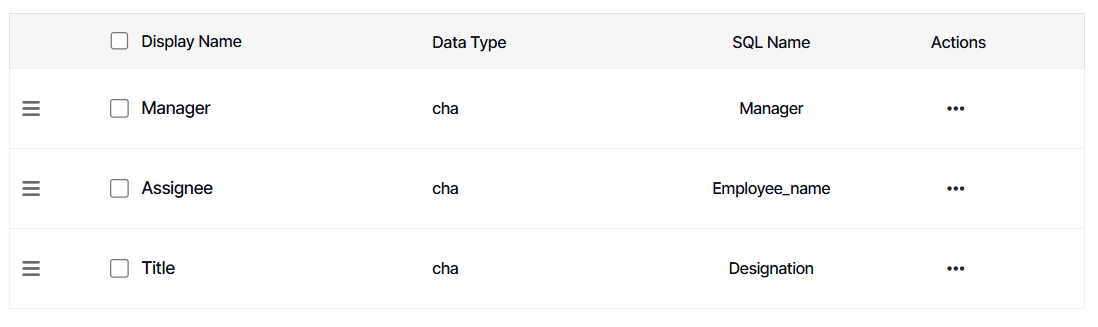
Editing a Report Field
1. To edit a report field, select the desired report field

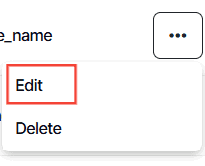
2. Click the three dots button
3. Click Edit button
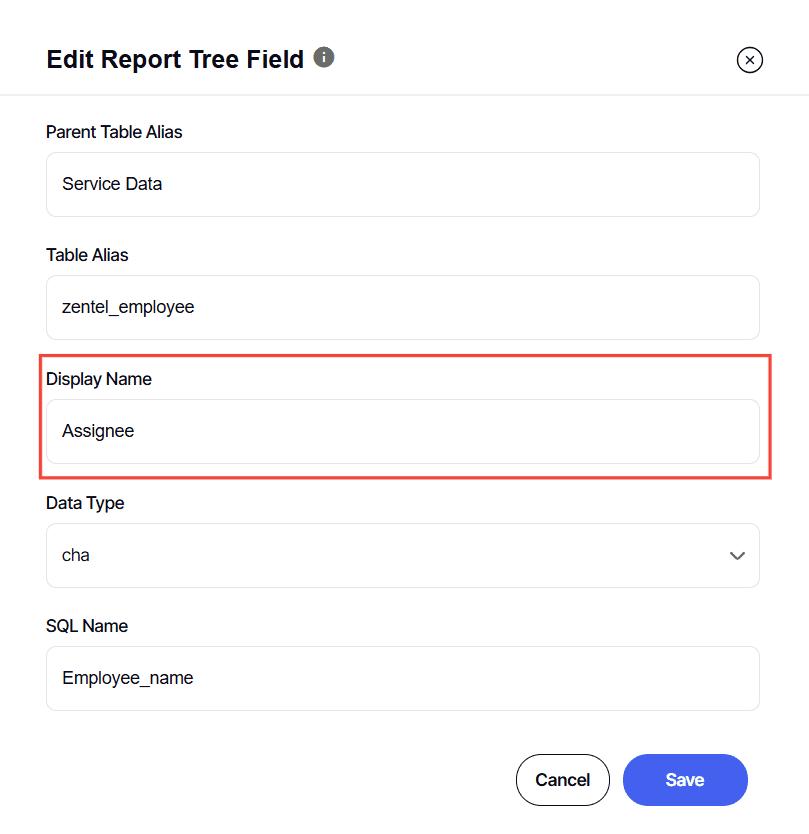
4. Type in the new Display Name
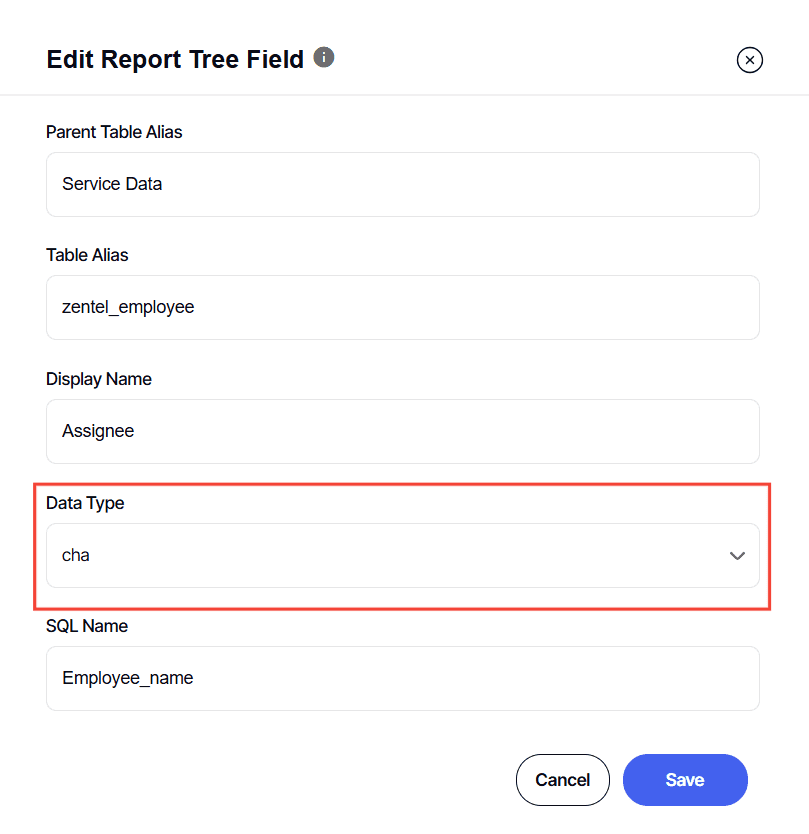
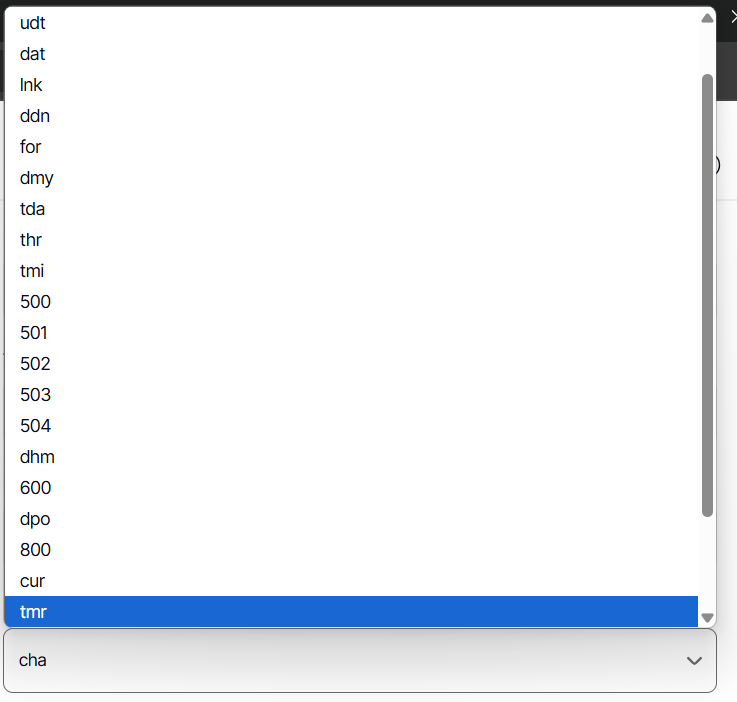
5. Select the new Data Type.
Note: This should coincide with the report field you have selected. If the data is text, then data type is cha, if it is a price then data type is num.
6. Click Save
Deleting a Report Field
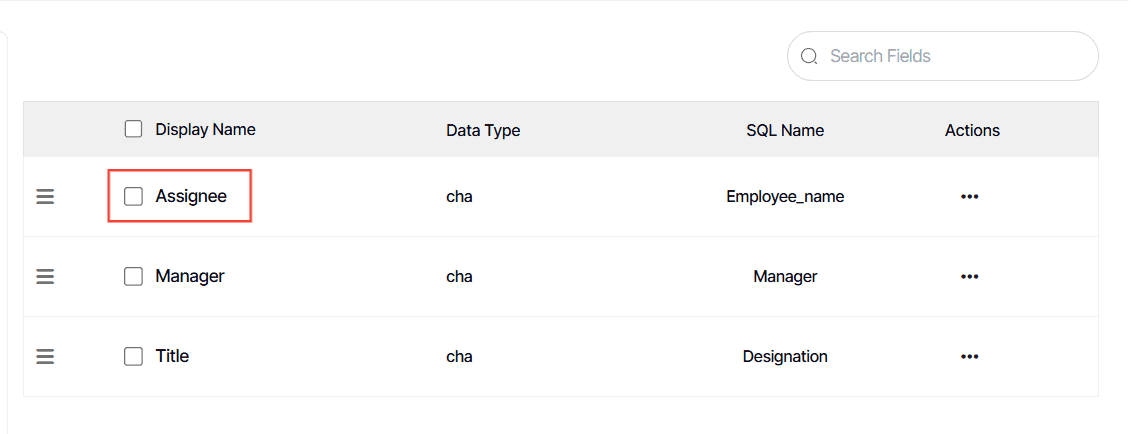
1. To delete a report field, select the desired report field for deletion

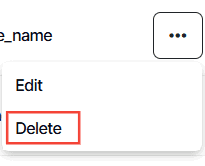
2. Click the three dots button

3. Click Delete
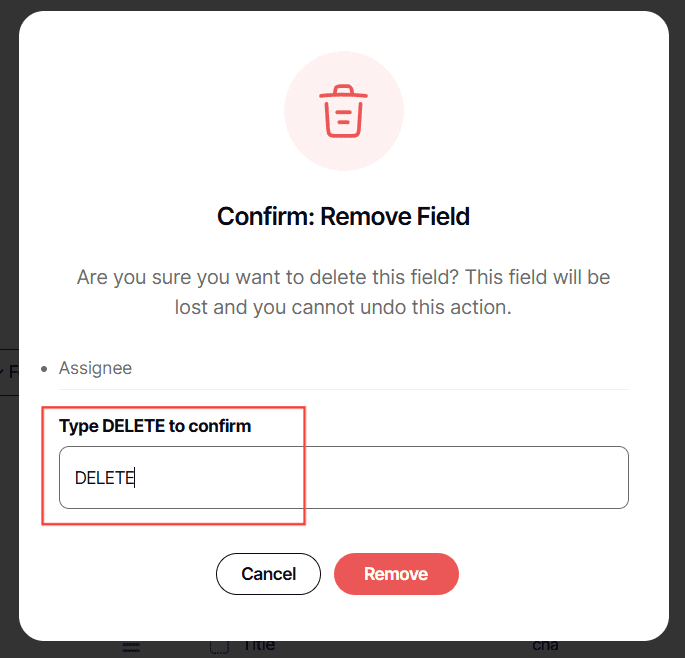
4. Type in DELETE
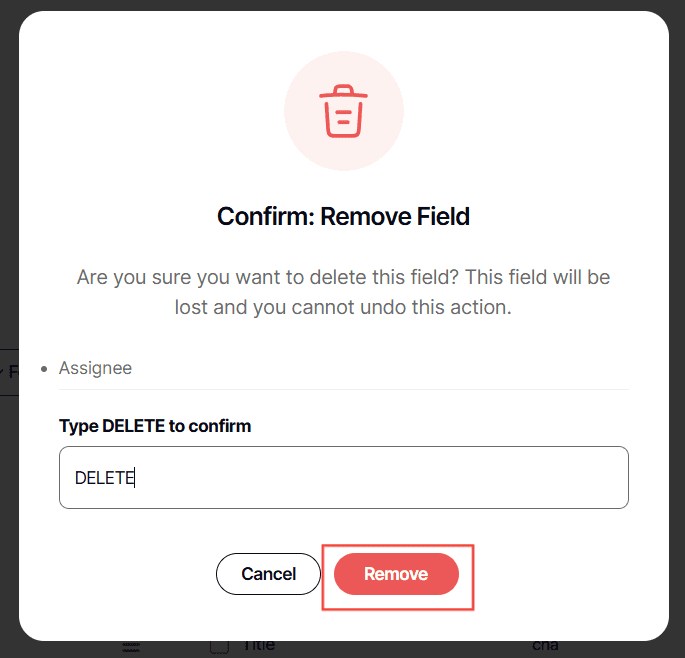
5. Click Remove
Arranging Report Field
1. To arrange the order, simply click on the report field
2. Drag the report field where you want them.
Note: This is strictly within the folder. A report field from one folder to another is not possible.

And there you have it! You now know how to organize your report tree as an app builder!